Friday, 7 September 2012

BACK ONLINE

After weeks of being offline due to no computer. As promised here are the photos of some of the finished CW's.  Over the next few week I'll post more photos of the CV, PV & GSV wagons.

Monday, 16 July 2012

A NEW USE FOR COMPUTER KEYBOARDS


As the title suggests I've found a new use for my computer keyboard.  As the photo shows I've been weathering up my Austrains CW's.  In the not too distant future I'll post photos of the finished items.

Wednesday, 11 July 2012

A TRIP OUT WEST

A few days ago I headed out west to Bathurst as I had promised my 6yo son a while ago I'd take him to show him Mt Panorama. So we headed off.  

Along the way I got some great scenery ideas for the layout and a general idea of what colours all the scenery is out that way but this was not the primary reason we were going out there and all my son was interested in was seeing Mt Panorama and where the Big Bear car (Bundaberg Commodore) had done somersaults after shredding a tyre in 2010. 

However when we arrived in Bathurst I was quite surprised to see 5112 had been returned to the station some 12 months earlier.  I've attached 2 photos below of it all nicely restored. We did manage to do a couple of laps of the track(a bit slower than his hero Lowndsey does it though).


Saturday, 16 June 2012

When is an MCE not a Passenger car?????? When it's a Coil Steel Wagon

As the title suggests on the NSW Railways there were 2 different pieces of rollingstock that carried the code "MCE".  The well known one was of course the 72ft composite passenger car.  The other one was a converted MLE type wagon.  5 were converted from MLE's, (coded MCE) 2 from UME's (coded MCU)& 9 from EMX's (coded MCX)

On finding photos of these wagons I decided to do a model of an MCE.  I used an Austrains MLE and for the coil steel cradles and the coils the Auscision Models ones were used.

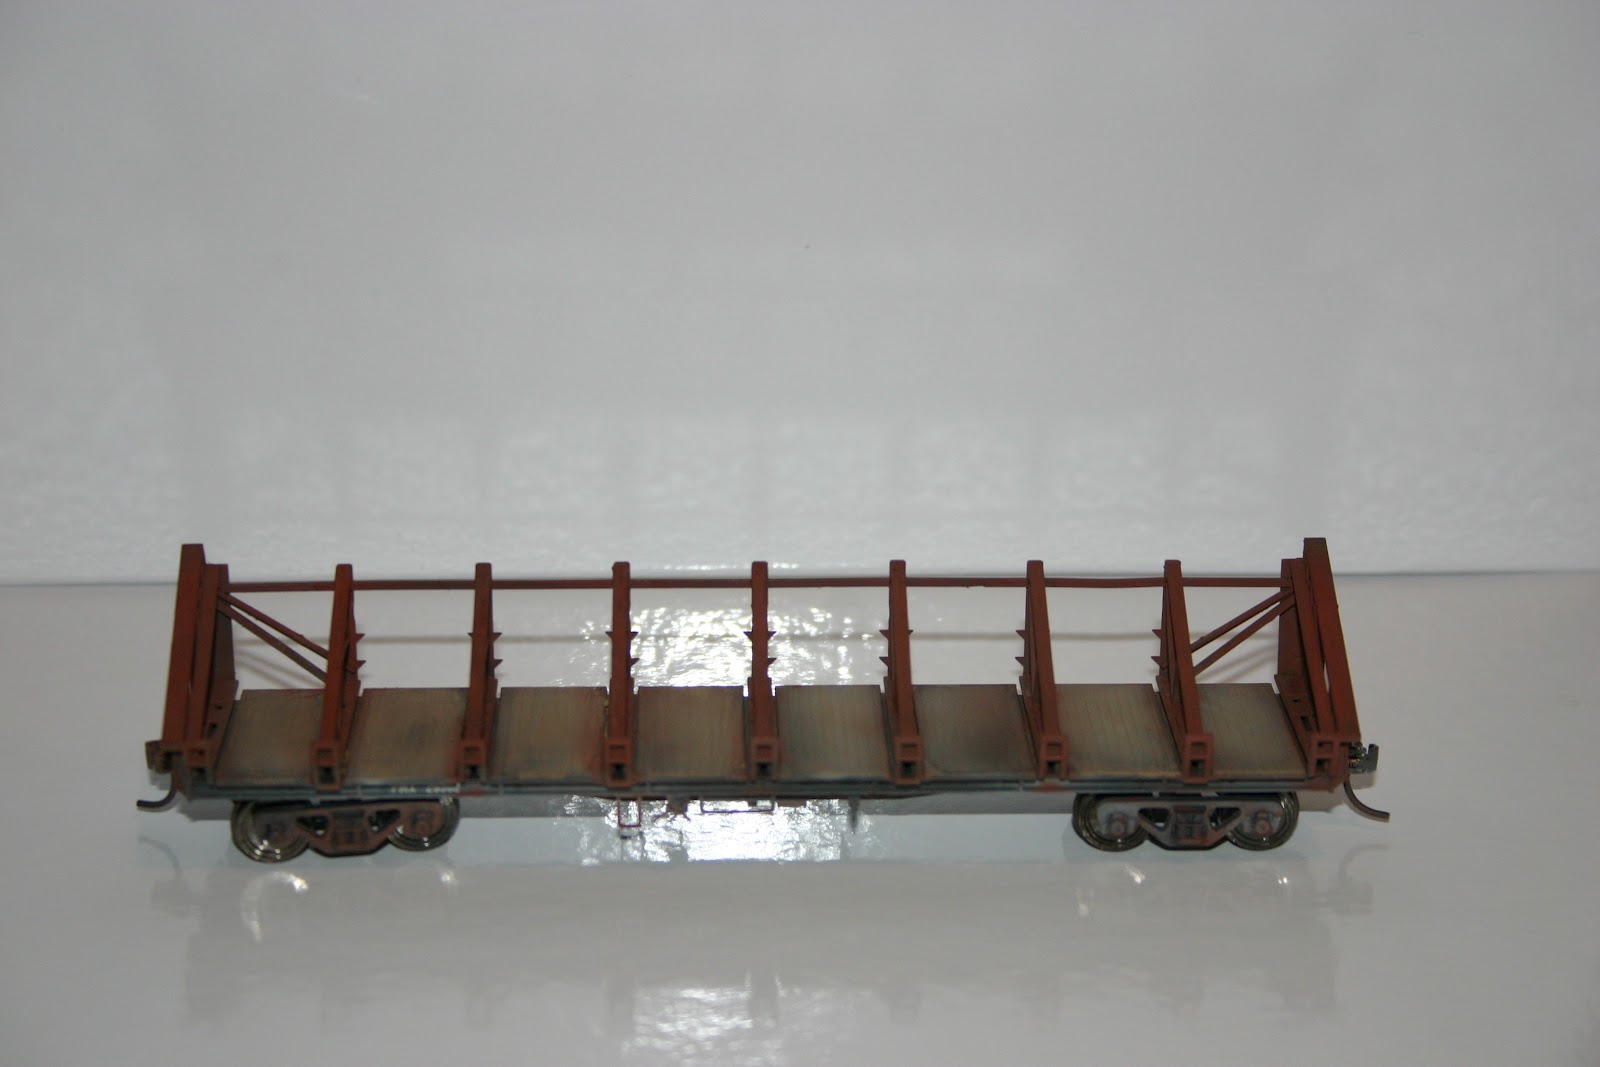
The wagons bolsters first needed to be removed and the wagon and cradles were weathered.  Once the wagon was weathered, the cradles were positioned on the wagon (using photos for positioning) and glued down.

The result being the following:


The below photos of the prototype used to base the model off came from Rob O'Regans website http://www.robx1.net/ this website is fantastic particularly for VR wagons but he also has a range of other interstate wagons as well.


Now where's that NCX kit??????????                  

Sunday, 13 May 2012

Weathering PMX Out of Gauge Steel Wagon

I've been playing around weathering up my PMX's of late and finally got some time to myself to put the finishing touches to them.

The result is below.


Getting the model to this point took a little more time than I anticipated but I now have the frame and deck looking pretty close to what I wanted

Sunday, 6 May 2012

Some recent weathering projects


Both these models have been weathered using different techniques to gain desired effect.

The JX is an Austrains model.  The cement effect was obtained by dry brushing Tamiya enamel (J.N. Grey) thinned down using Tamiya thinners.  Then using a flat brush down the sides created the dried cement look.  After the dry brushing was done, a light spray of the same paint through the airbrush allowed the model to have that cement weathered look.


The MLE is also an Austrains model.  The wagon has been airbrushed at the start then had Rustall applied in different spots.  Finally the deck was weathered using the powder dust substance that comes in the Rustall package and finally the deck was flat coated.

The load is a Pipe load purchased from a local hobby shop. Sorry I can't recall the brand. However, it was a product from a U.S. based manufacturer.


Tuesday, 13 March 2012

The Shed

Last Christmas I was given an Auscision Goods Shed.  It's quite a nicely detailed model and comes built, painted ready to place on your layout oh and it's "lightly weathered".  For me it was too "lightly weathered".

So I set about rectifying this and weathering it up a little more to my liking for this type of structure.

I used 2 products.  The first is a product called Rustall.  This is great for getting that random look that rust can get.  The second was a product I've had mixed success with, Joes Custom Weathering dyes.  In this instance I used the Rustall for a few layers to get the rusty appearance on the shed roof.  I then made a very light wash of the weathering dyes using their rust colour.  This enhanced the Rustall underneath and has left me with the result below.  I also made a wash and lightly weathered the building and a heavier black wash to darken up the timber deck.

All in all I am quite happy with the results.  Now to scenic the part of the layout the shed will sit on to complete the scene.