Sunday, 13 May 2012

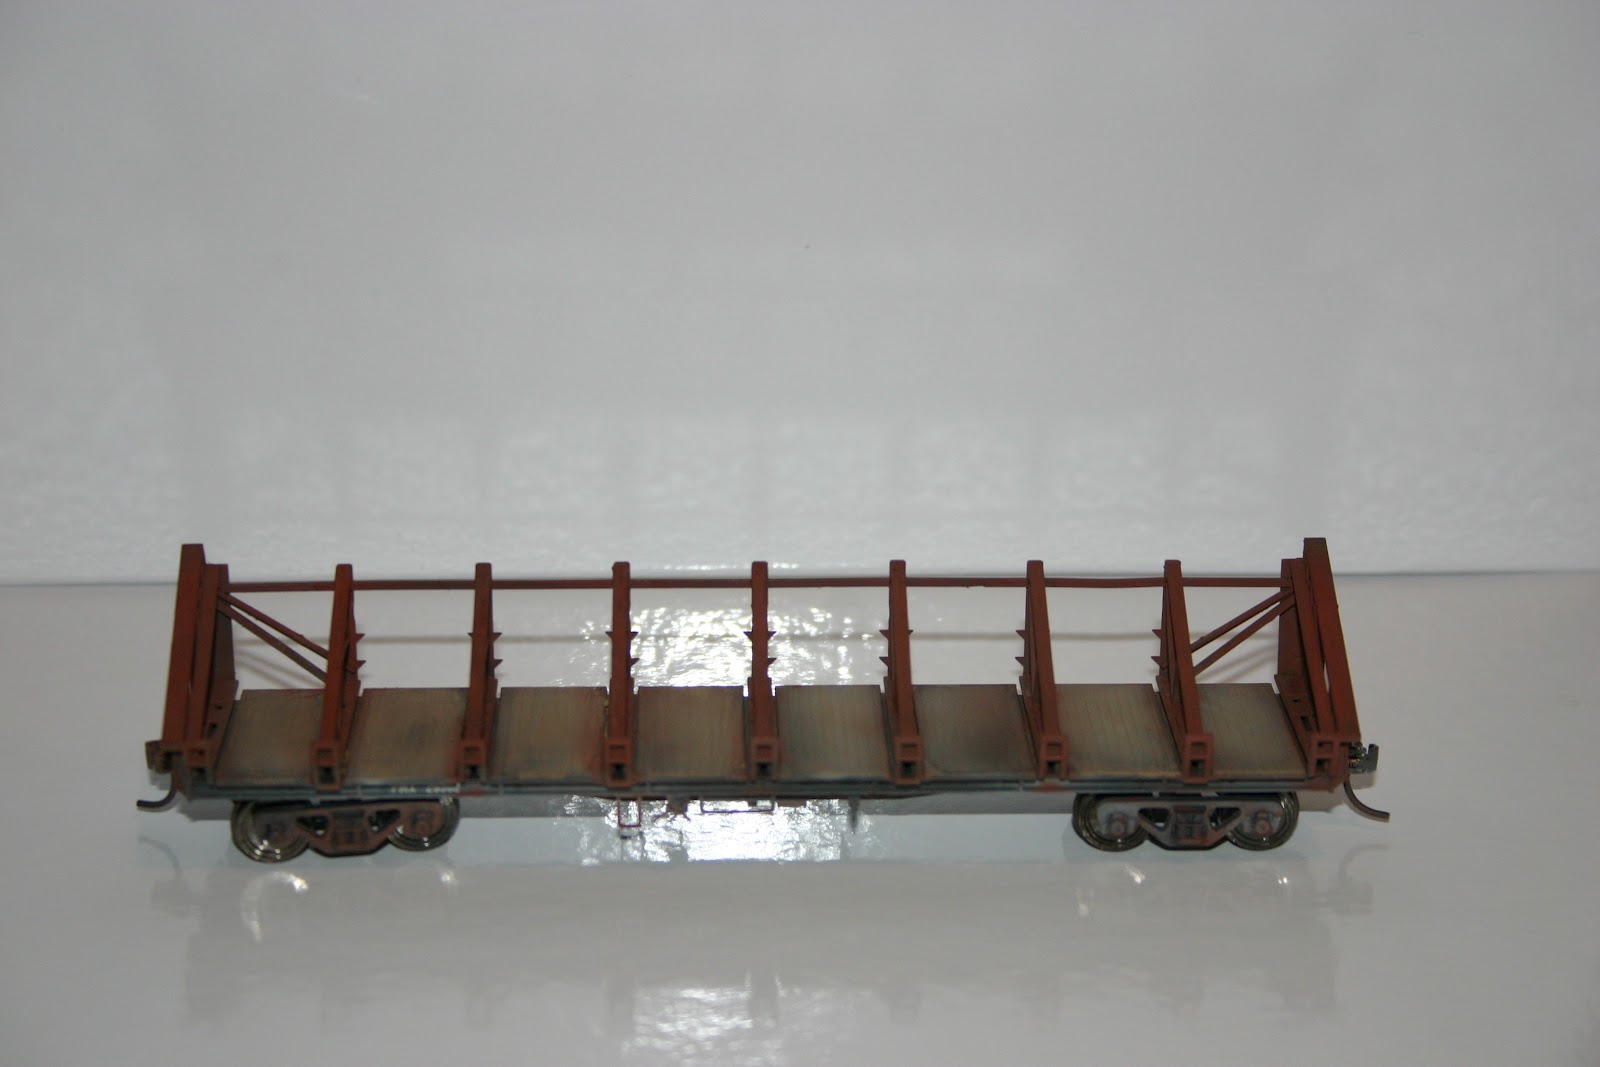
Weathering PMX Out of Gauge Steel Wagon

I've been playing around weathering up my PMX's of late and finally got some time to myself to put the finishing touches to them.

The result is below.


Getting the model to this point took a little more time than I anticipated but I now have the frame and deck looking pretty close to what I wanted

Sunday, 6 May 2012

Some recent weathering projects


Both these models have been weathered using different techniques to gain desired effect.

The JX is an Austrains model.  The cement effect was obtained by dry brushing Tamiya enamel (J.N. Grey) thinned down using Tamiya thinners.  Then using a flat brush down the sides created the dried cement look.  After the dry brushing was done, a light spray of the same paint through the airbrush allowed the model to have that cement weathered look.


The MLE is also an Austrains model.  The wagon has been airbrushed at the start then had Rustall applied in different spots.  Finally the deck was weathered using the powder dust substance that comes in the Rustall package and finally the deck was flat coated.

The load is a Pipe load purchased from a local hobby shop. Sorry I can't recall the brand. However, it was a product from a U.S. based manufacturer.


Tuesday, 13 March 2012

The Shed

Last Christmas I was given an Auscision Goods Shed.  It's quite a nicely detailed model and comes built, painted ready to place on your layout oh and it's "lightly weathered".  For me it was too "lightly weathered".

So I set about rectifying this and weathering it up a little more to my liking for this type of structure.

I used 2 products.  The first is a product called Rustall.  This is great for getting that random look that rust can get.  The second was a product I've had mixed success with, Joes Custom Weathering dyes.  In this instance I used the Rustall for a few layers to get the rusty appearance on the shed roof.  I then made a very light wash of the weathering dyes using their rust colour.  This enhanced the Rustall underneath and has left me with the result below.  I also made a wash and lightly weathered the building and a heavier black wash to darken up the timber deck.

All in all I am quite happy with the results.  Now to scenic the part of the layout the shed will sit on to complete the scene.

Sunday, 4 December 2011

Draft Plans for my layout


I've finally drawn up the plans for my layout. Sorry about the basic drawings (just starting to learn to uses CAD drawings).   The upper level is already in place and running (with the exception of the Branch).  This currently allows for a continuous run.


The lower level is currently under construction.   There will need to be some slight modifications to the upper level to allow the two levels to join.  These have already been allowed for.


Thursday, 3 November 2011

A new beginning

I have been working on and off on my layout now for just over 5 years.  It is to be based on the main West (West of Bathurst) and will primarily cover the end of Steam through to the early 80's.

It is to have two levels for the main line on & a branch line.  The top level is in place at the moment and provides a good run.  The lower level is currently under construction as are backdrops for the top level.  

So, from time to time I will place a post on what's happening (or not happening) on the layout and various modelling projects