Sunday, 26 January 2014

MAKING YOUR HUB CARS GREEN WITH ENVY (or just tint the windows green)

Since the release of the Eureka Models HUB cars there has been much debate around the windows and whether they should have had a green tint or not.

On the prototype there is a slight green tint to the windows.  The RUBs and stainless steel cars also had a similar tinting.

There have been a few different ways published on how to gain this effect. For me the ways shown darkened the windows too much and hey became way too green for my liking.

So recently when I was asked to tint a set for someone I came up with my own ideas and came up with an effect that looked the part

Firstly I purchased a bottle of Tamiya Clear Green (Xxx) and some Isocol to thin the paint with. I then sprayed the windows lightly with the clear green to give the tinted effect on the windows.

As can be seen by the before and after photos, the green tint looks the part.  This can also be used on the flush glaze used on Silvermaz RUB cars and the Lima Stainless steel cars.

BEFORE

AFTER
 

Wednesday, 1 January 2014

2013 THE YEAR IN REVIEW

Well another year has come and gone.  Very little to report from the last 12 months on the layout.  The main addition was the wheat silo going in.  Over the next few months I plan to really get stuck in and get the second (lower level) complete and joining in to the top level.  After much procrastination I have worked out exactly where the points are to go in to take the main line away from the branch line.

New additions on the new model front were, the HUB cars arrived early in the new year.  Many comments were made about no "GREEN TINT" in the windows.  (I've worked out a method to tint the windows and will post this on the blog soon.)  I also acquired an 82 class (as built).  Thre were more 4 wheelers (LV, MV, CW) as well as some new bogie rolling stock (MRC)

Looking into the crystal ball, this year we will see in locomotives the 442/700,  81, G, BL and hopefully the 48/830.  We my also get a 45/600.  On the rolling stock front TRC, VLX, LHG and S wagon  All additions that will be welcomed on the Main West.

Hopefully over the next 12 months there will be a lot more posts and much more to report.

Happy Calendar changing Day

Tuesday, 26 November 2013

THE SILO IS IN

As the title suggests the silo is now in position.  The silo is an S024 Silo from Auscision Models. 

A bit of cutting to the base of the silo was required to make it fit.  The piece on the front of the base for the track was removed, as well as some off each corner at the back.  Once it fitted into the designated area out came the marking pen ad jigsaw. Once it fitted in a false floor was place under the layout to allow the silo to just sit there.


Now I just need to scenic around it.

Tuesday, 11 June 2013

IT'S BEEN A WHILE.....

Yes it's been a while, but with recent health problems the layout & modelling in general took
a back seat for a while. Well that and waiting to pick up my Auscision S024 Wheat Silo.  Well, on the weekend I picked up the silo and have placed it on the layout.

With a bit of luck this weekend will allow me to permanently place it on the layout and complete that part of the layout.

I will post some photos once it's in place.

Sunday, 3 February 2013

WHAT'S IN A NAME..........

The design of the top deck of my layout (see earlier post for the drawing) is based on the early track plan of Parkes NSW.   As my layout was going to be too short, a bit of modellers licence came into play.  Some changes were made to suit the operation of the layout and make the key components fit.  So what to call this section of the layout was something that had been a problem that was constantly left for a rainy day as.  

So the other night, that rainy day arrived and I googled the early history of Parkes to find that Parkes was not the original name of the town.  The area now known as Parkes was originally named "CURRAJONG" in 1853. In 1871 it became known as "BUSHMANS LEAD" and then shortened to "BUSHMANS" before finally in 1873 being officially named "PARKES".

So now I have narrowed it down to 2 names I can call this section of the layout.

Now if only the bottom sections name could be this easy.......

Monday, 31 December 2012

THE YEAR THAT WAS

This year has been a stop start year on the layout, for a few months a lot of work got done to it. A bit more of the bench work got done.  Some minor track repairs werer completed.

The passengers now have a platform on the top deck, they just don't have a station yet.

On the rollingstock front, They now have a local passenger service (FO's) but the train from the big smoke isn't due until early 2013 (HUB's).

The local stock farmers received some wagons to send their stock on their penultimate journey (GSV, CW, BSV & BCW) and also their last journey (SRC).

We also had a myriad of other 4 wheelers (CV, PV, LV, ICV) and some bogie stock was added to the roster as well (WTY, VSX, OCY, 10,000 gallon oil tankers).

No doubt this time next year the loco roster and rollingstock at our disposal will have increased but I'll leave that for another day.

So everyone, Happy Calendar Changing Day.


Wednesday, 17 October 2012

WEATHERING WOODEN WAGONS PART 2

As promised some photos of the ICV's and SRC's

These wagons were weathered using the same system as the previous blog

Enjoy


Saturday, 6 October 2012

WEATHERING WOODEN BODIED WAGONS

Recently I was asked what techniques I use to weather freight wagons. The simple answer given was various techniques depending on the wagon and/or the effect I'm looking for for the particular piece of rolling stock.

I have been weathering up some of the recently released 4 wheelers from Austrains and thought this would be a good opportunity to show it step by step.

The first 2 photos show a CV & a PV ex-works.


STEP 1.

For the first colour you will need a very diluted mix of Tamiya Acrylic XF12 J.N. Grey. To dilute the paint I use Isocol rubbing alcohol. It comes in a green bottle and can be purchased from your local chemist or supermarket. Dilute the paint about 80% Isocol 20% paint. If you want the mix thicker just add more paint or if thinner more Isocol. Pretty simple really. Apply the mix using a flat type brush following the way the wooden planks run. Don't be too concerned with how it looks as there is still some way to go.


STEP 2.

Once the first coat of paint has dried I applied a dark buff colour using a weathering dye. Tamiya Acrylic also has a similar colour that would be just as effective.


STEP 3.

Using a rust colour (Hull red from Tamiya), highlight the different areas of your model using a thin brush. Picking out the springs and hinges really will set off the model.

The following photo shows the dark buff colour applied and the rust colour highlight. The rust wash can also be applied to the roof


STEP 4.

Using the flat brush apply a black wash mixed using the above 80-20 rule. To make the mix I used a bottle of Tamiya XF1 Black with XF12 mixed in to make it a "Grimy Black" type colour. If the finished model hasn't darkened up enough for your liking simply wait for the model to dry and re-apply the black wash.


STEP 5. (The final one)

Lightly weather the underbody using your desired colours (at this point I use Floquil Grime and Grimy Black). Also give the body a light coat of these colours as well just to tidy everything up a touch.

The final photo shows the finished products.


Once completed I will post photos of the ICV & SRC.

Friday, 7 September 2012

BACK ONLINE

After weeks of being offline due to no computer. As promised here are the photos of some of the finished CW's.  Over the next few week I'll post more photos of the CV, PV & GSV wagons.

Monday, 16 July 2012

A NEW USE FOR COMPUTER KEYBOARDS


As the title suggests I've found a new use for my computer keyboard.  As the photo shows I've been weathering up my Austrains CW's.  In the not too distant future I'll post photos of the finished items.

Wednesday, 11 July 2012

A TRIP OUT WEST

A few days ago I headed out west to Bathurst as I had promised my 6yo son a while ago I'd take him to show him Mt Panorama. So we headed off.  

Along the way I got some great scenery ideas for the layout and a general idea of what colours all the scenery is out that way but this was not the primary reason we were going out there and all my son was interested in was seeing Mt Panorama and where the Big Bear car (Bundaberg Commodore) had done somersaults after shredding a tyre in 2010. 

However when we arrived in Bathurst I was quite surprised to see 5112 had been returned to the station some 12 months earlier.  I've attached 2 photos below of it all nicely restored. We did manage to do a couple of laps of the track(a bit slower than his hero Lowndsey does it though).


Saturday, 16 June 2012

When is an MCE not a Passenger car?????? When it's a Coil Steel Wagon

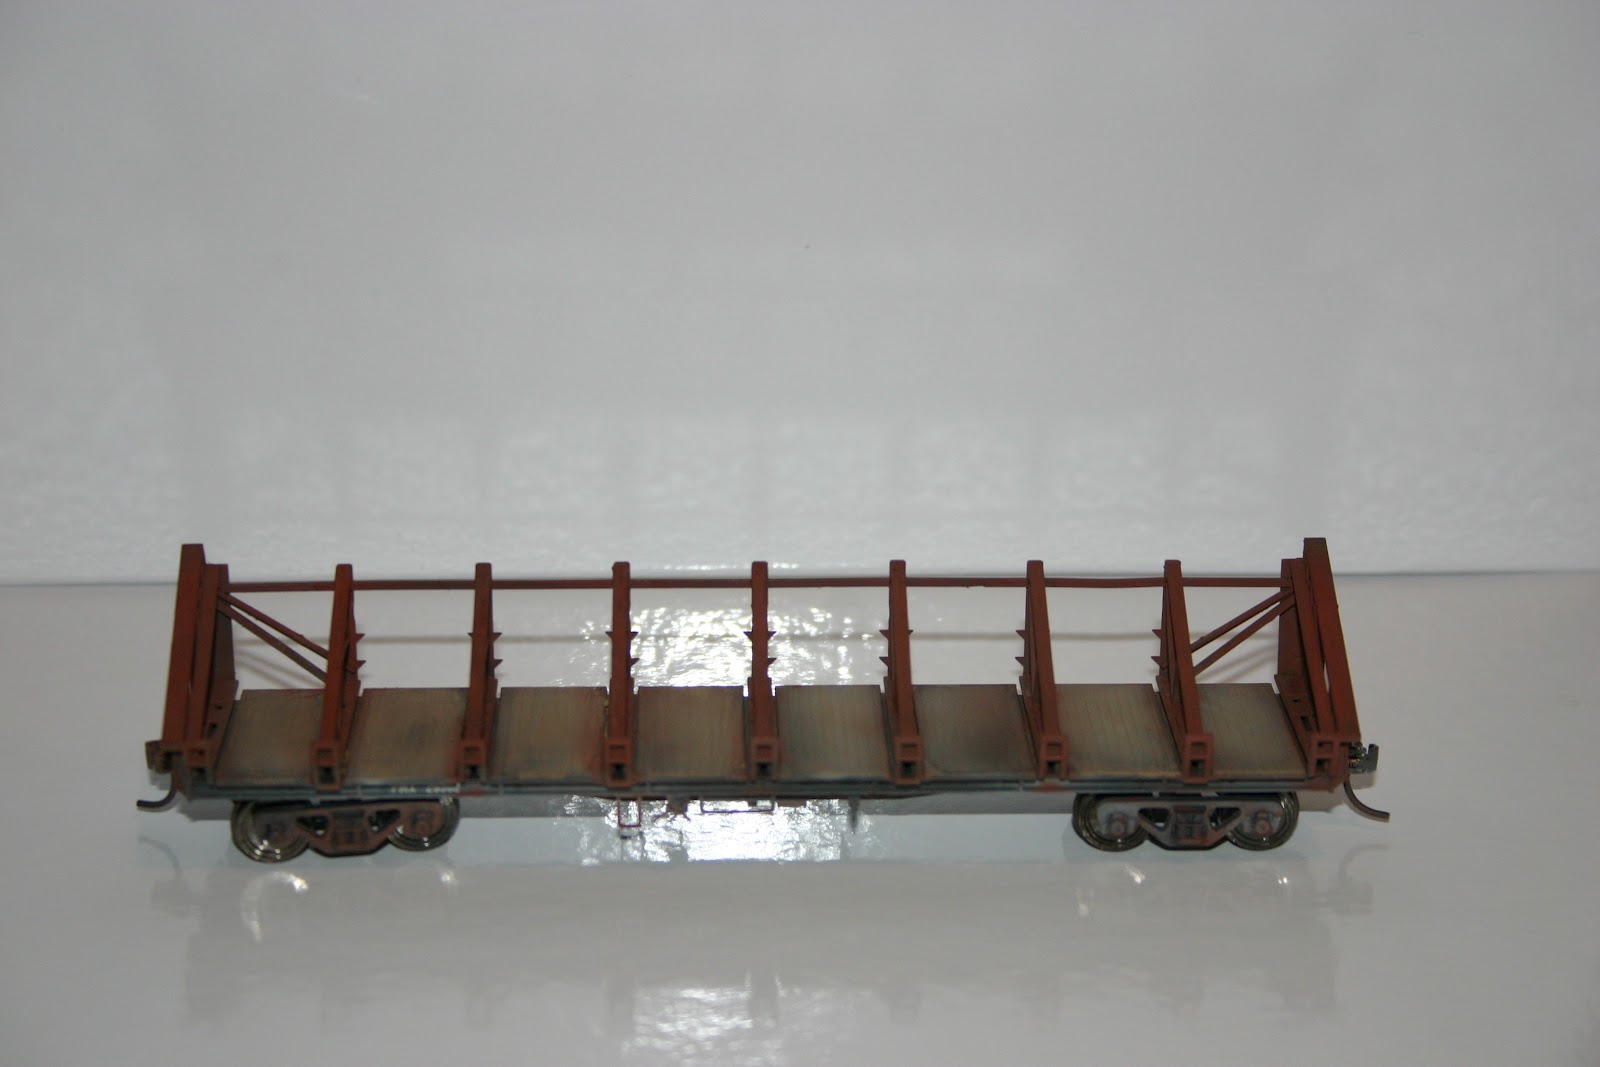
As the title suggests on the NSW Railways there were 2 different pieces of rollingstock that carried the code "MCE".  The well known one was of course the 72ft composite passenger car.  The other one was a converted MLE type wagon.  5 were converted from MLE's, (coded MCE) 2 from UME's (coded MCU)& 9 from EMX's (coded MCX)

On finding photos of these wagons I decided to do a model of an MCE.  I used an Austrains MLE and for the coil steel cradles and the coils the Auscision Models ones were used.

The wagons bolsters first needed to be removed and the wagon and cradles were weathered.  Once the wagon was weathered, the cradles were positioned on the wagon (using photos for positioning) and glued down.

The result being the following:


The below photos of the prototype used to base the model off came from Rob O'Regans website http://www.robx1.net/ this website is fantastic particularly for VR wagons but he also has a range of other interstate wagons as well.


Now where's that NCX kit??????????                  

Sunday, 13 May 2012

Weathering PMX Out of Gauge Steel Wagon

I've been playing around weathering up my PMX's of late and finally got some time to myself to put the finishing touches to them.

The result is below.


Getting the model to this point took a little more time than I anticipated but I now have the frame and deck looking pretty close to what I wanted

Sunday, 6 May 2012

Some recent weathering projects


Both these models have been weathered using different techniques to gain desired effect.

The JX is an Austrains model.  The cement effect was obtained by dry brushing Tamiya enamel (J.N. Grey) thinned down using Tamiya thinners.  Then using a flat brush down the sides created the dried cement look.  After the dry brushing was done, a light spray of the same paint through the airbrush allowed the model to have that cement weathered look.


The MLE is also an Austrains model.  The wagon has been airbrushed at the start then had Rustall applied in different spots.  Finally the deck was weathered using the powder dust substance that comes in the Rustall package and finally the deck was flat coated.

The load is a Pipe load purchased from a local hobby shop. Sorry I can't recall the brand. However, it was a product from a U.S. based manufacturer.


Tuesday, 13 March 2012

The Shed

Last Christmas I was given an Auscision Goods Shed.  It's quite a nicely detailed model and comes built, painted ready to place on your layout oh and it's "lightly weathered".  For me it was too "lightly weathered".

So I set about rectifying this and weathering it up a little more to my liking for this type of structure.

I used 2 products.  The first is a product called Rustall.  This is great for getting that random look that rust can get.  The second was a product I've had mixed success with, Joes Custom Weathering dyes.  In this instance I used the Rustall for a few layers to get the rusty appearance on the shed roof.  I then made a very light wash of the weathering dyes using their rust colour.  This enhanced the Rustall underneath and has left me with the result below.  I also made a wash and lightly weathered the building and a heavier black wash to darken up the timber deck.

All in all I am quite happy with the results.  Now to scenic the part of the layout the shed will sit on to complete the scene.

Sunday, 4 December 2011

Draft Plans for my layout


I've finally drawn up the plans for my layout. Sorry about the basic drawings (just starting to learn to uses CAD drawings).   The upper level is already in place and running (with the exception of the Branch).  This currently allows for a continuous run.


The lower level is currently under construction.   There will need to be some slight modifications to the upper level to allow the two levels to join.  These have already been allowed for.


Thursday, 3 November 2011

A new beginning

I have been working on and off on my layout now for just over 5 years.  It is to be based on the main West (West of Bathurst) and will primarily cover the end of Steam through to the early 80's.

It is to have two levels for the main line on & a branch line.  The top level is in place at the moment and provides a good run.  The lower level is currently under construction as are backdrops for the top level.  

So, from time to time I will place a post on what's happening (or not happening) on the layout and various modelling projects